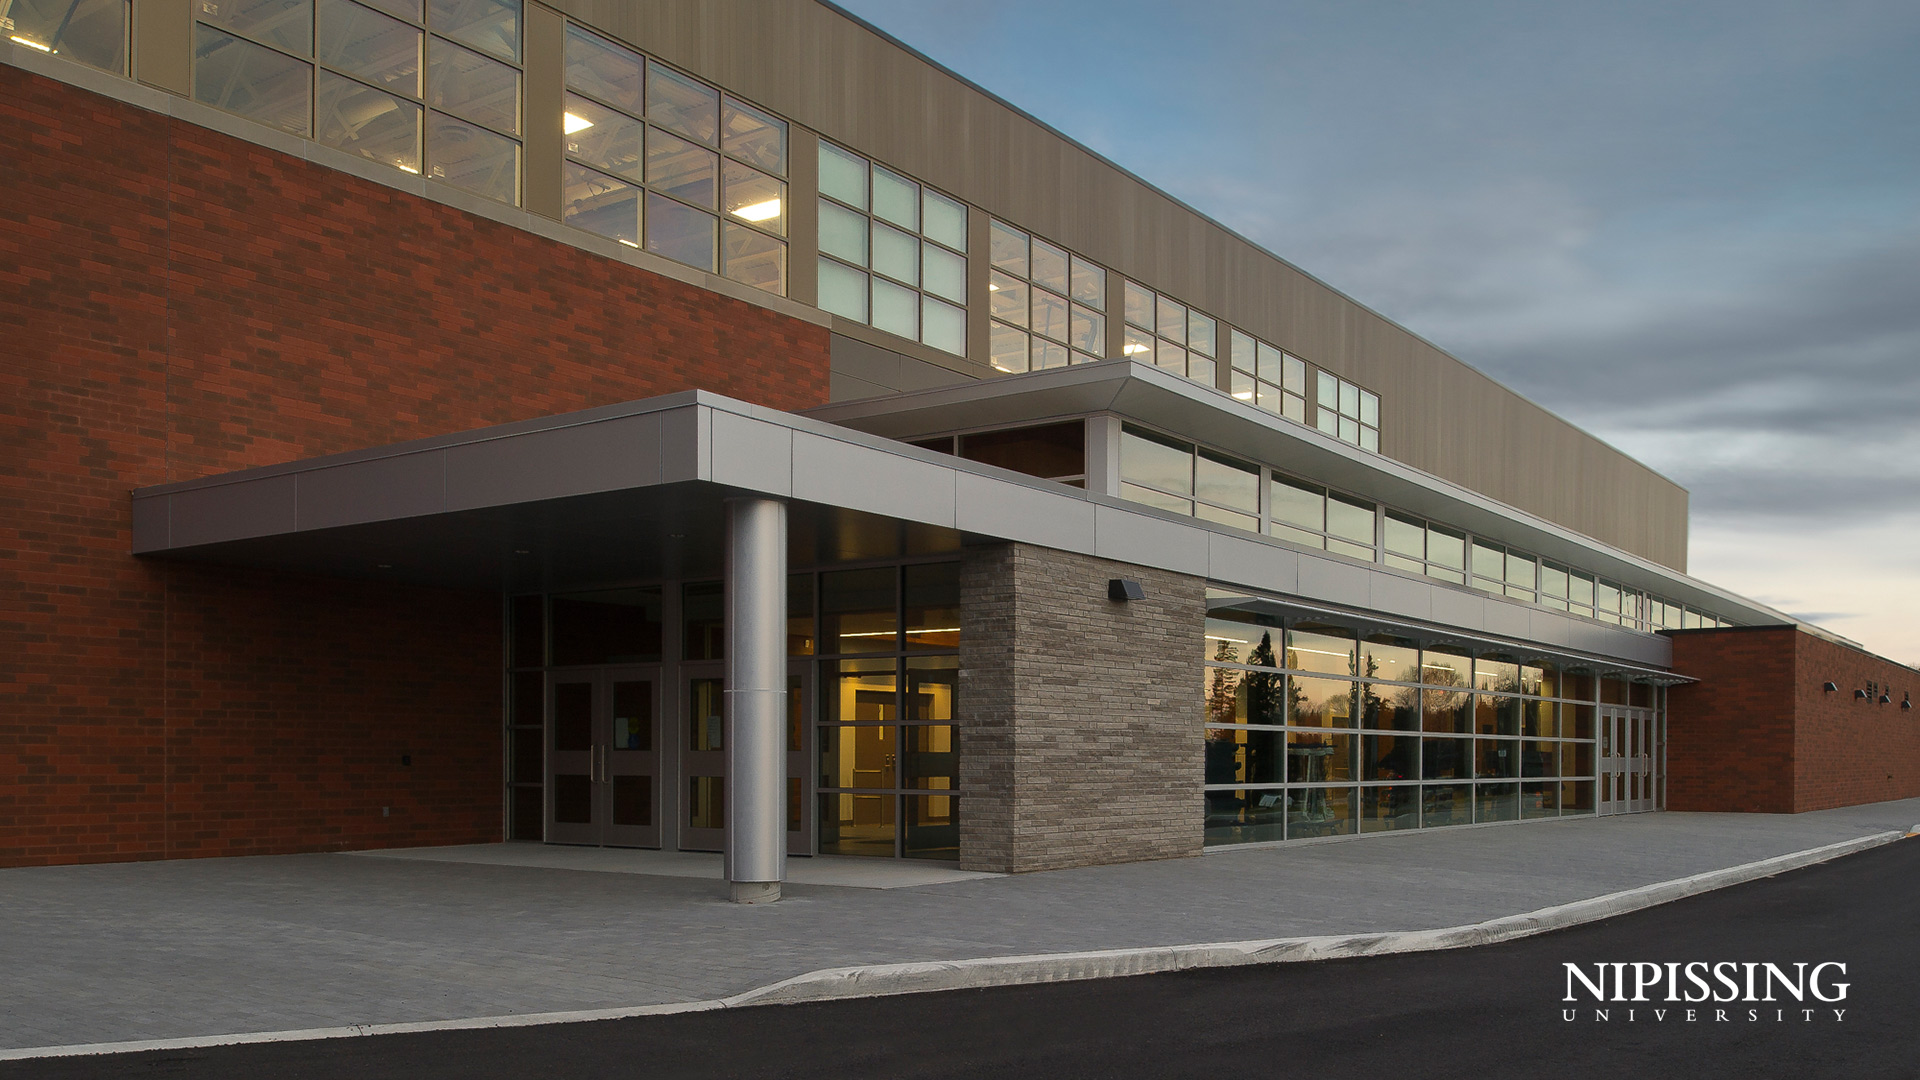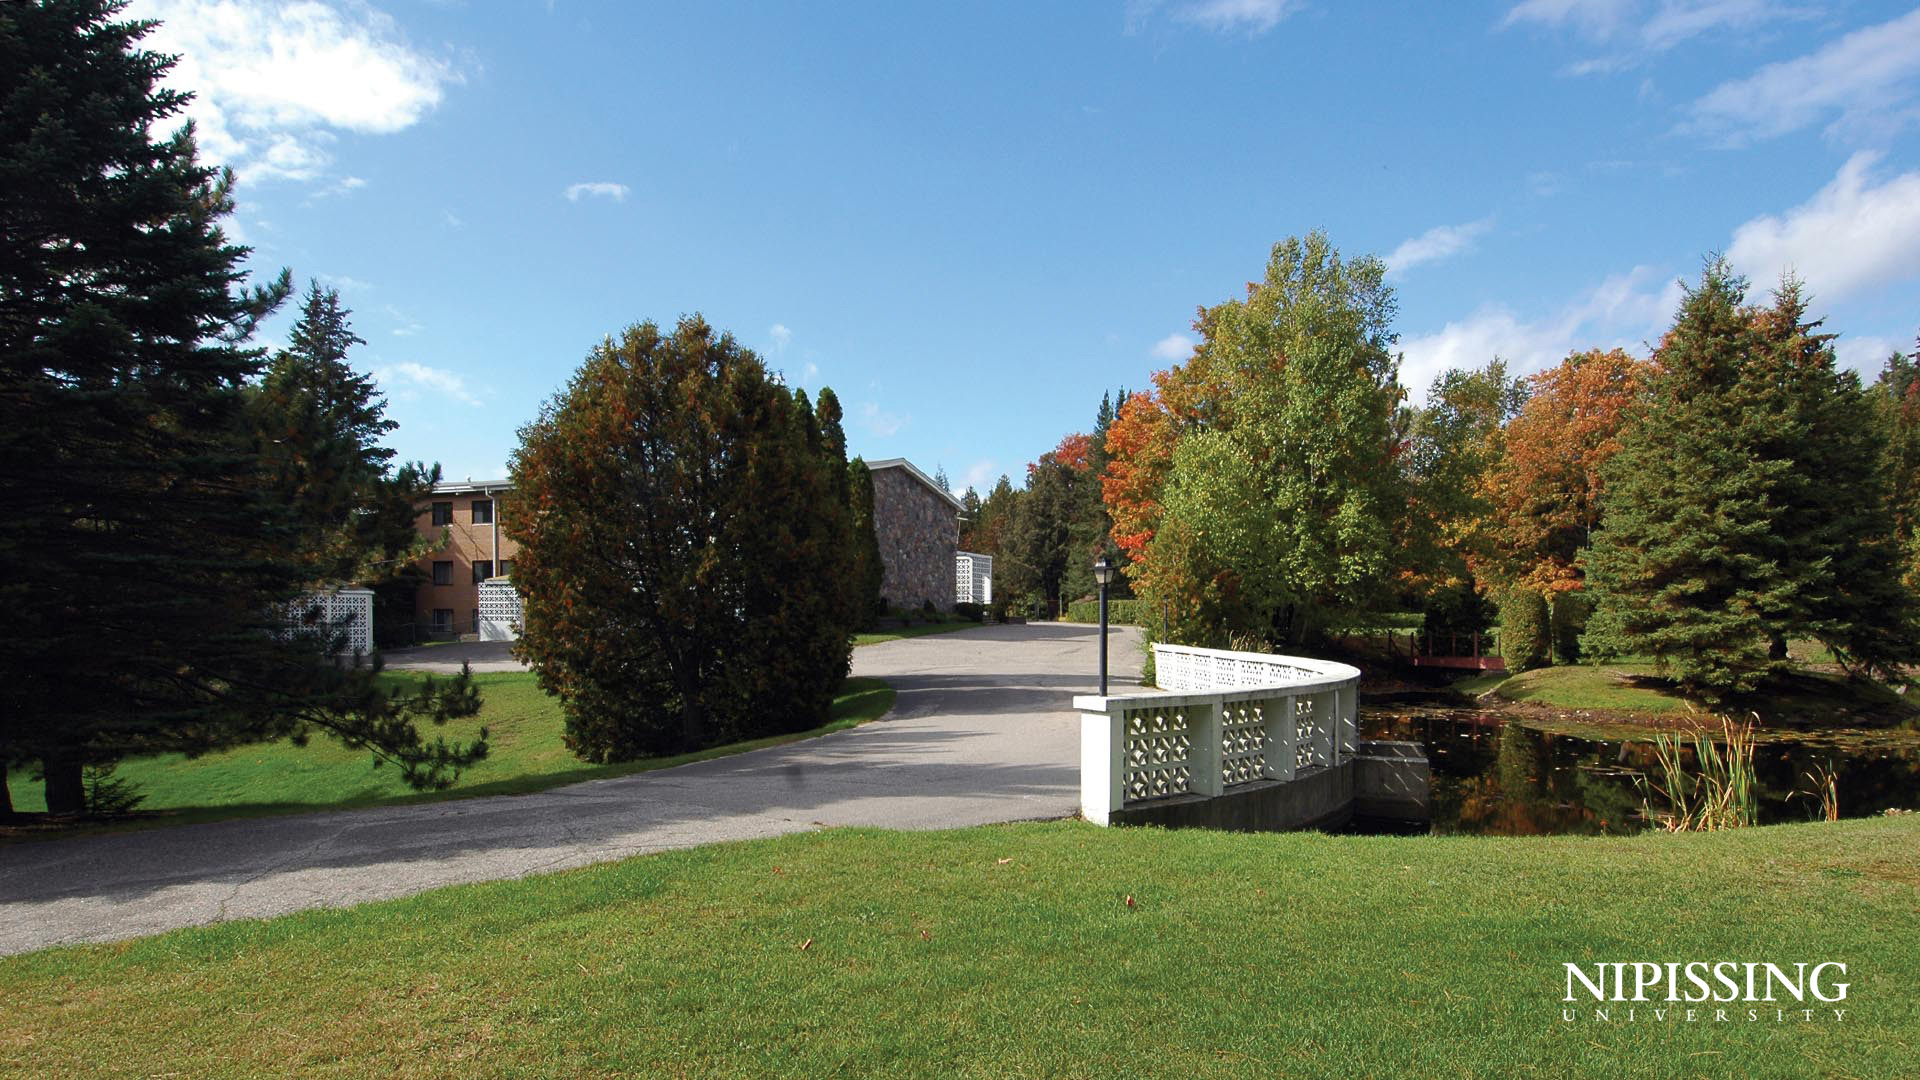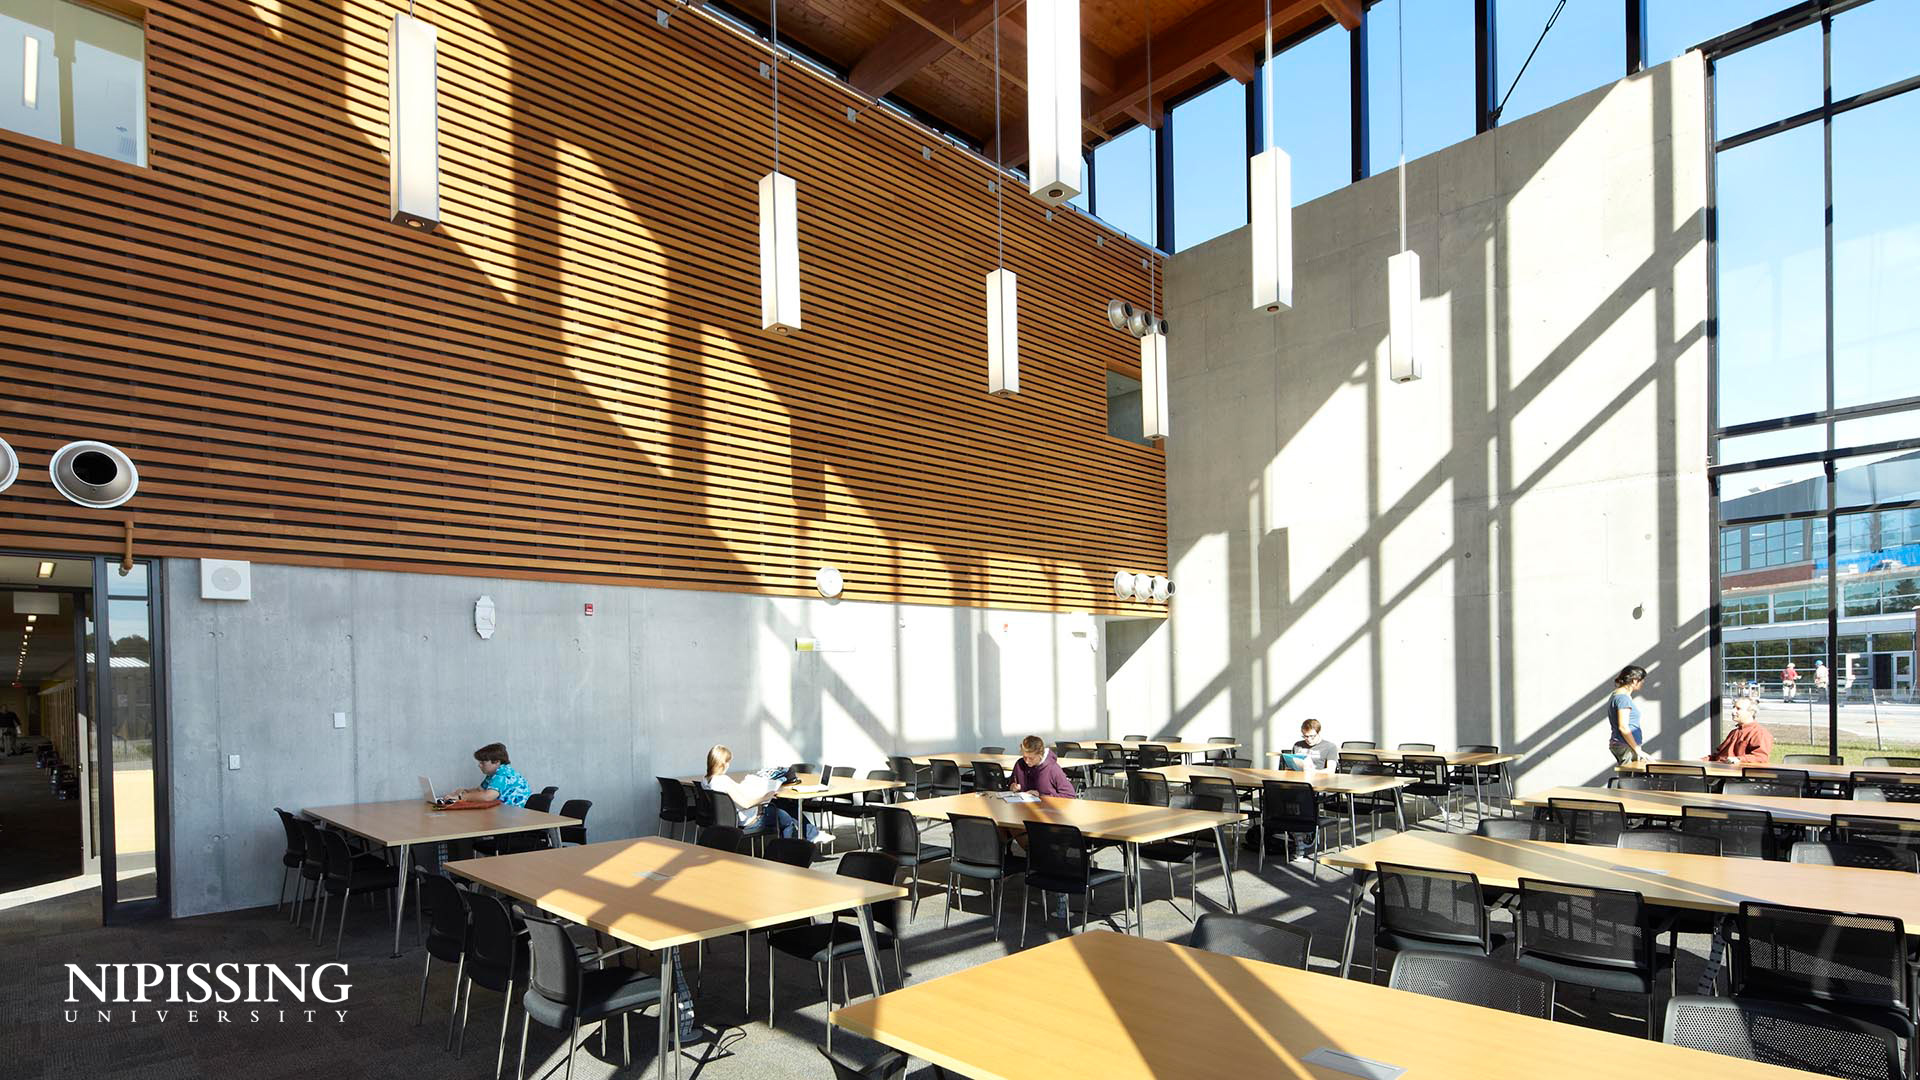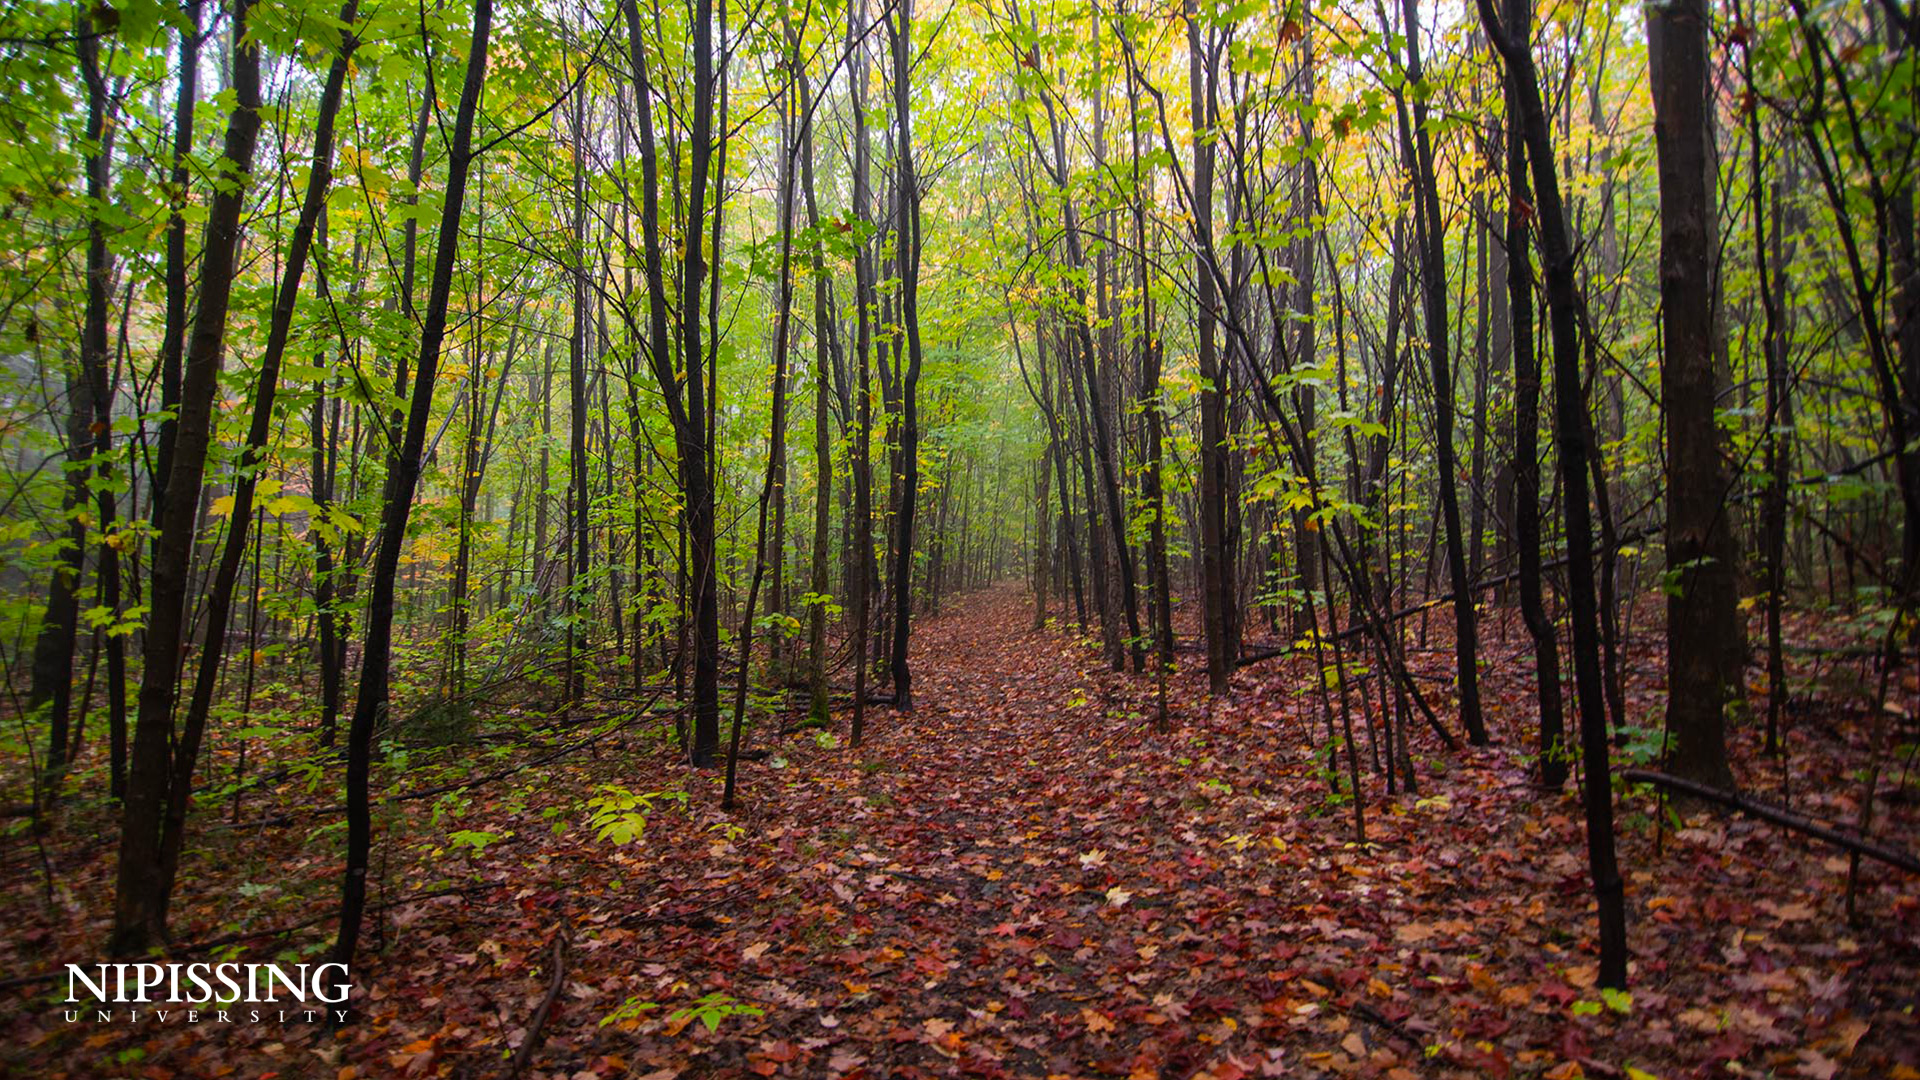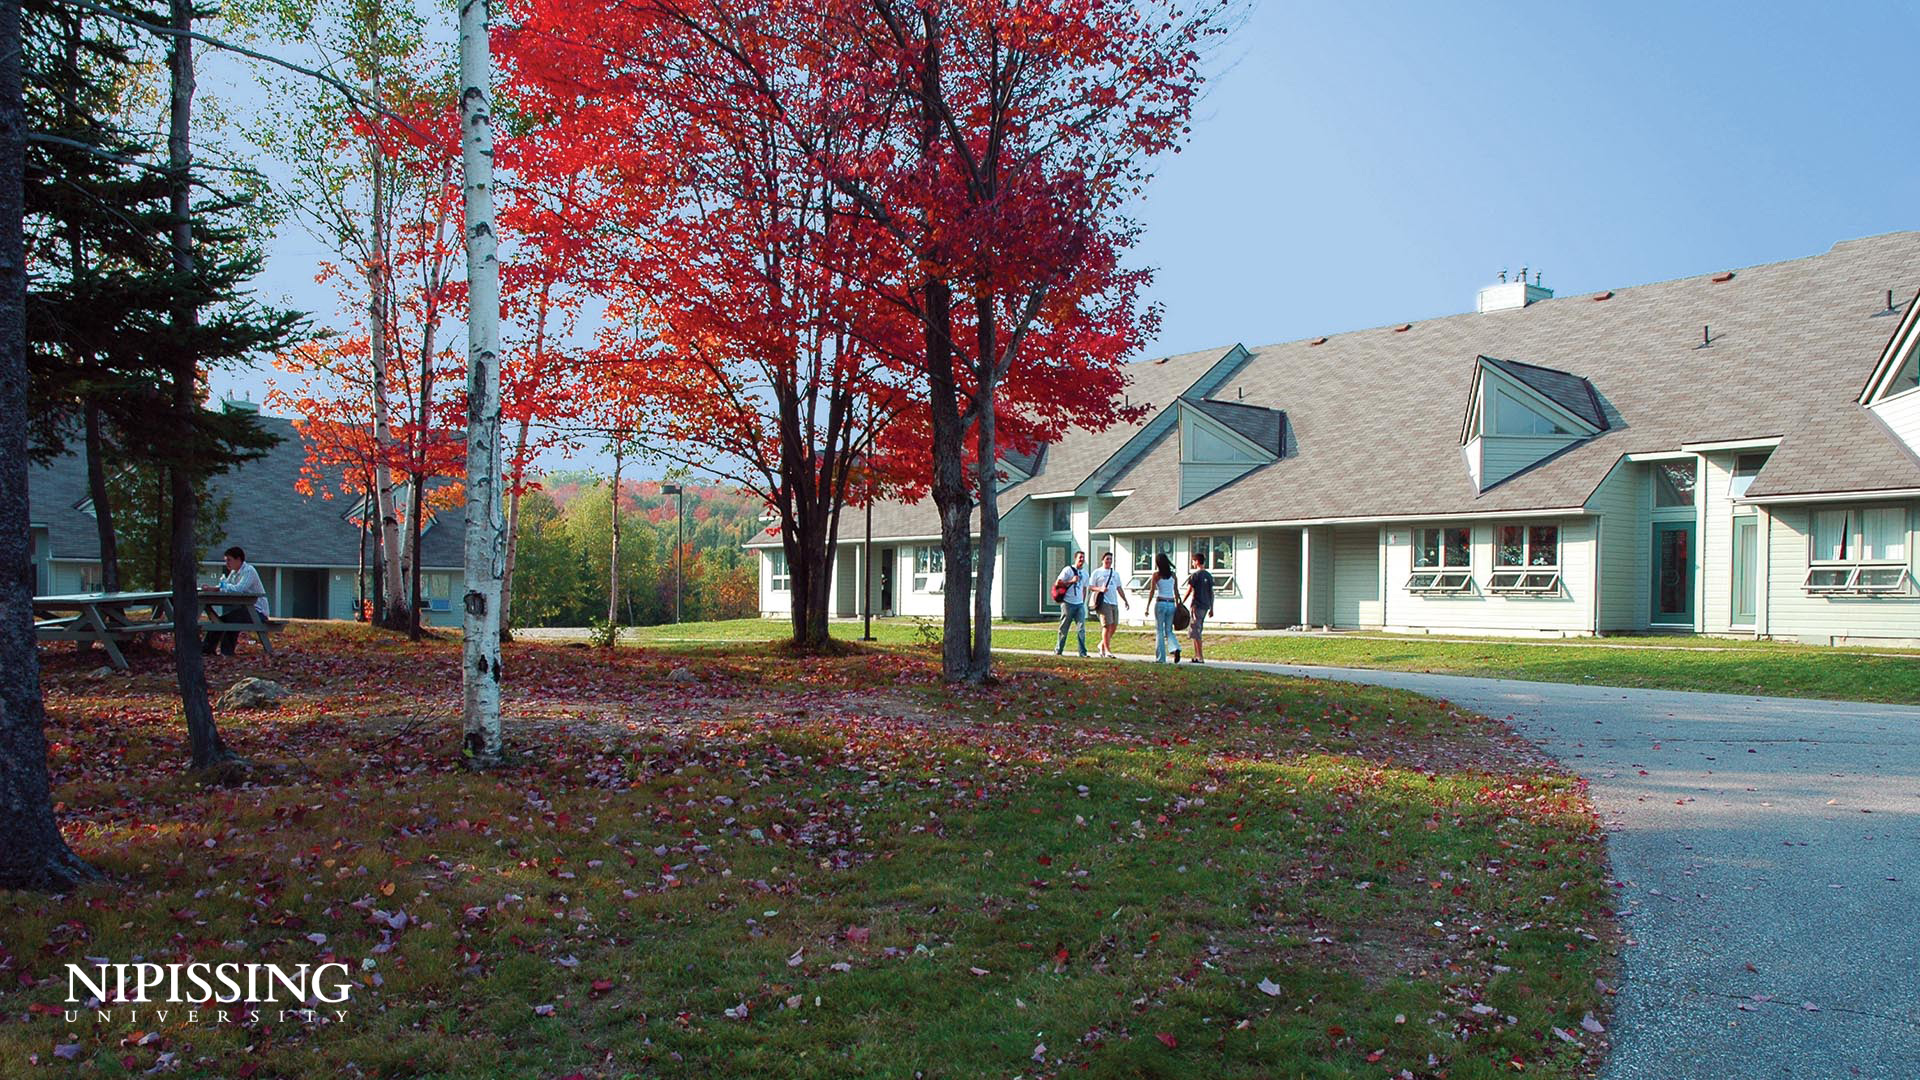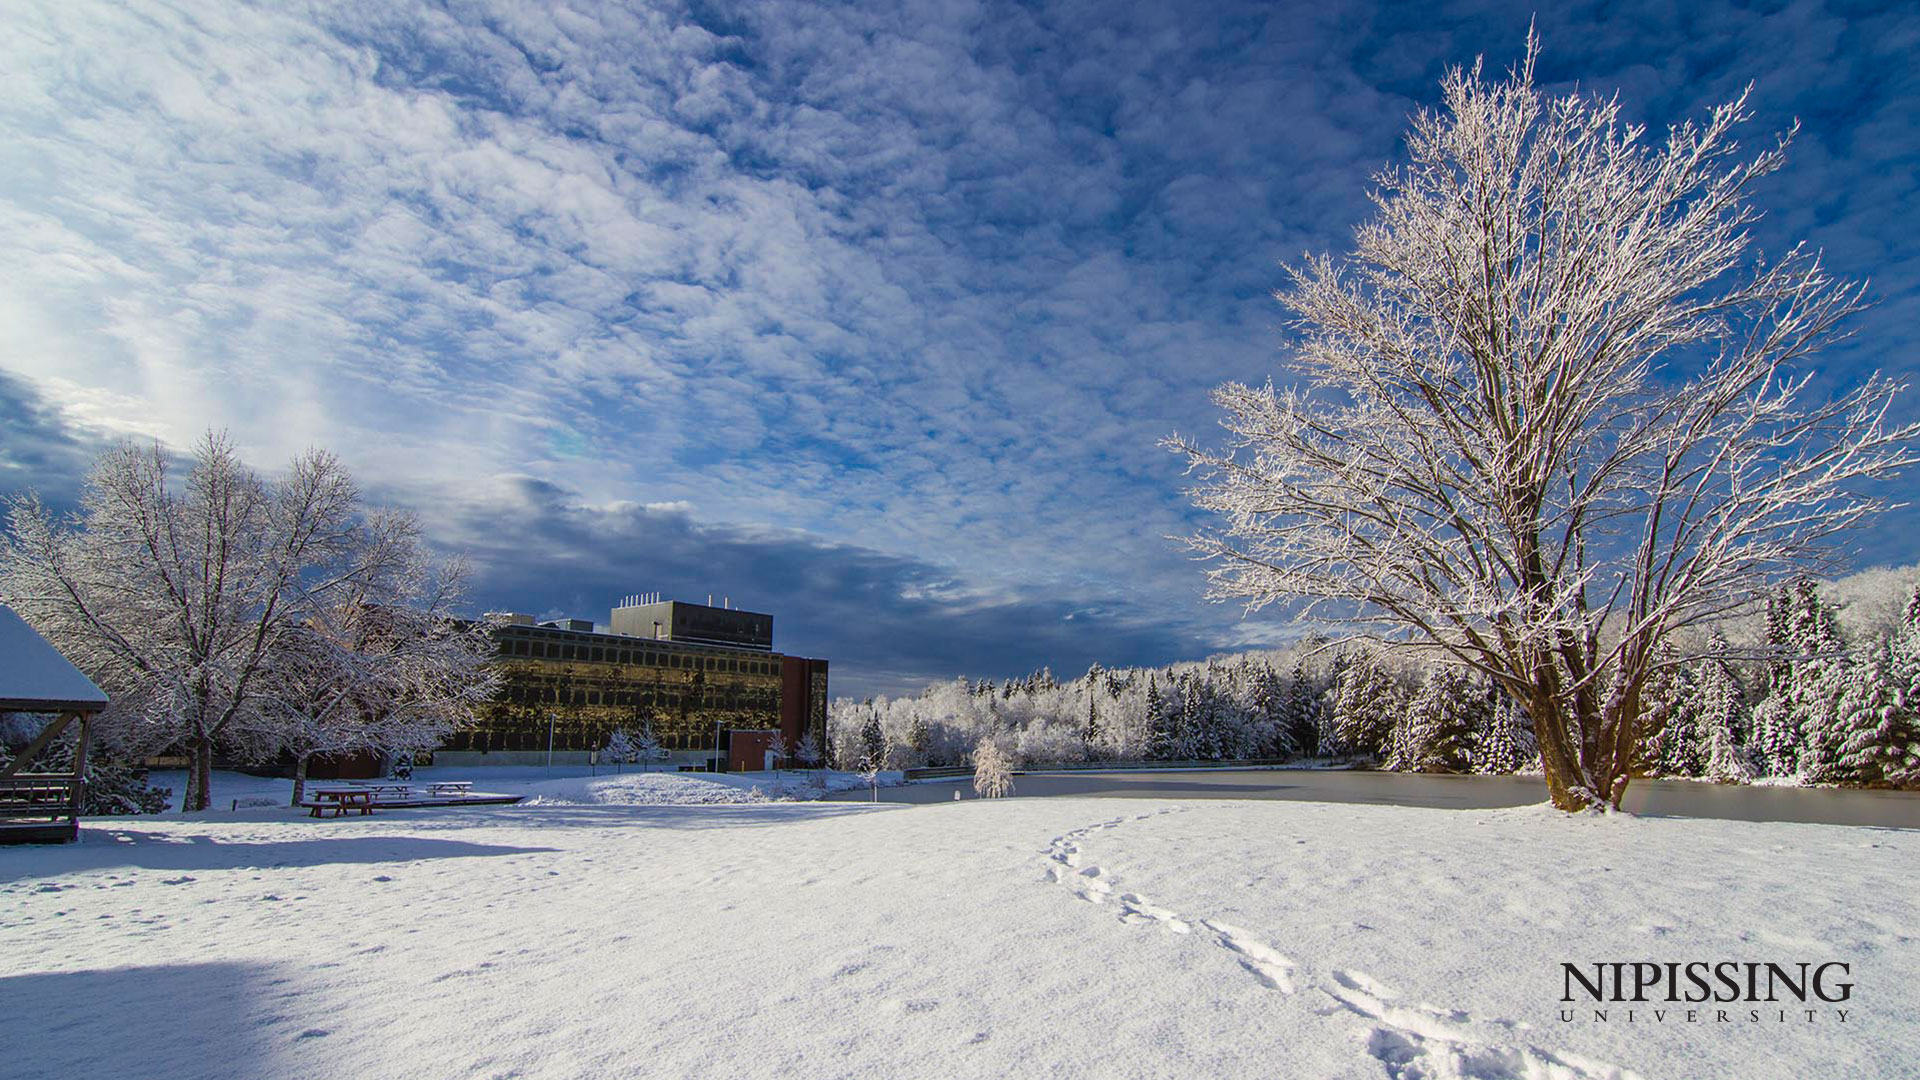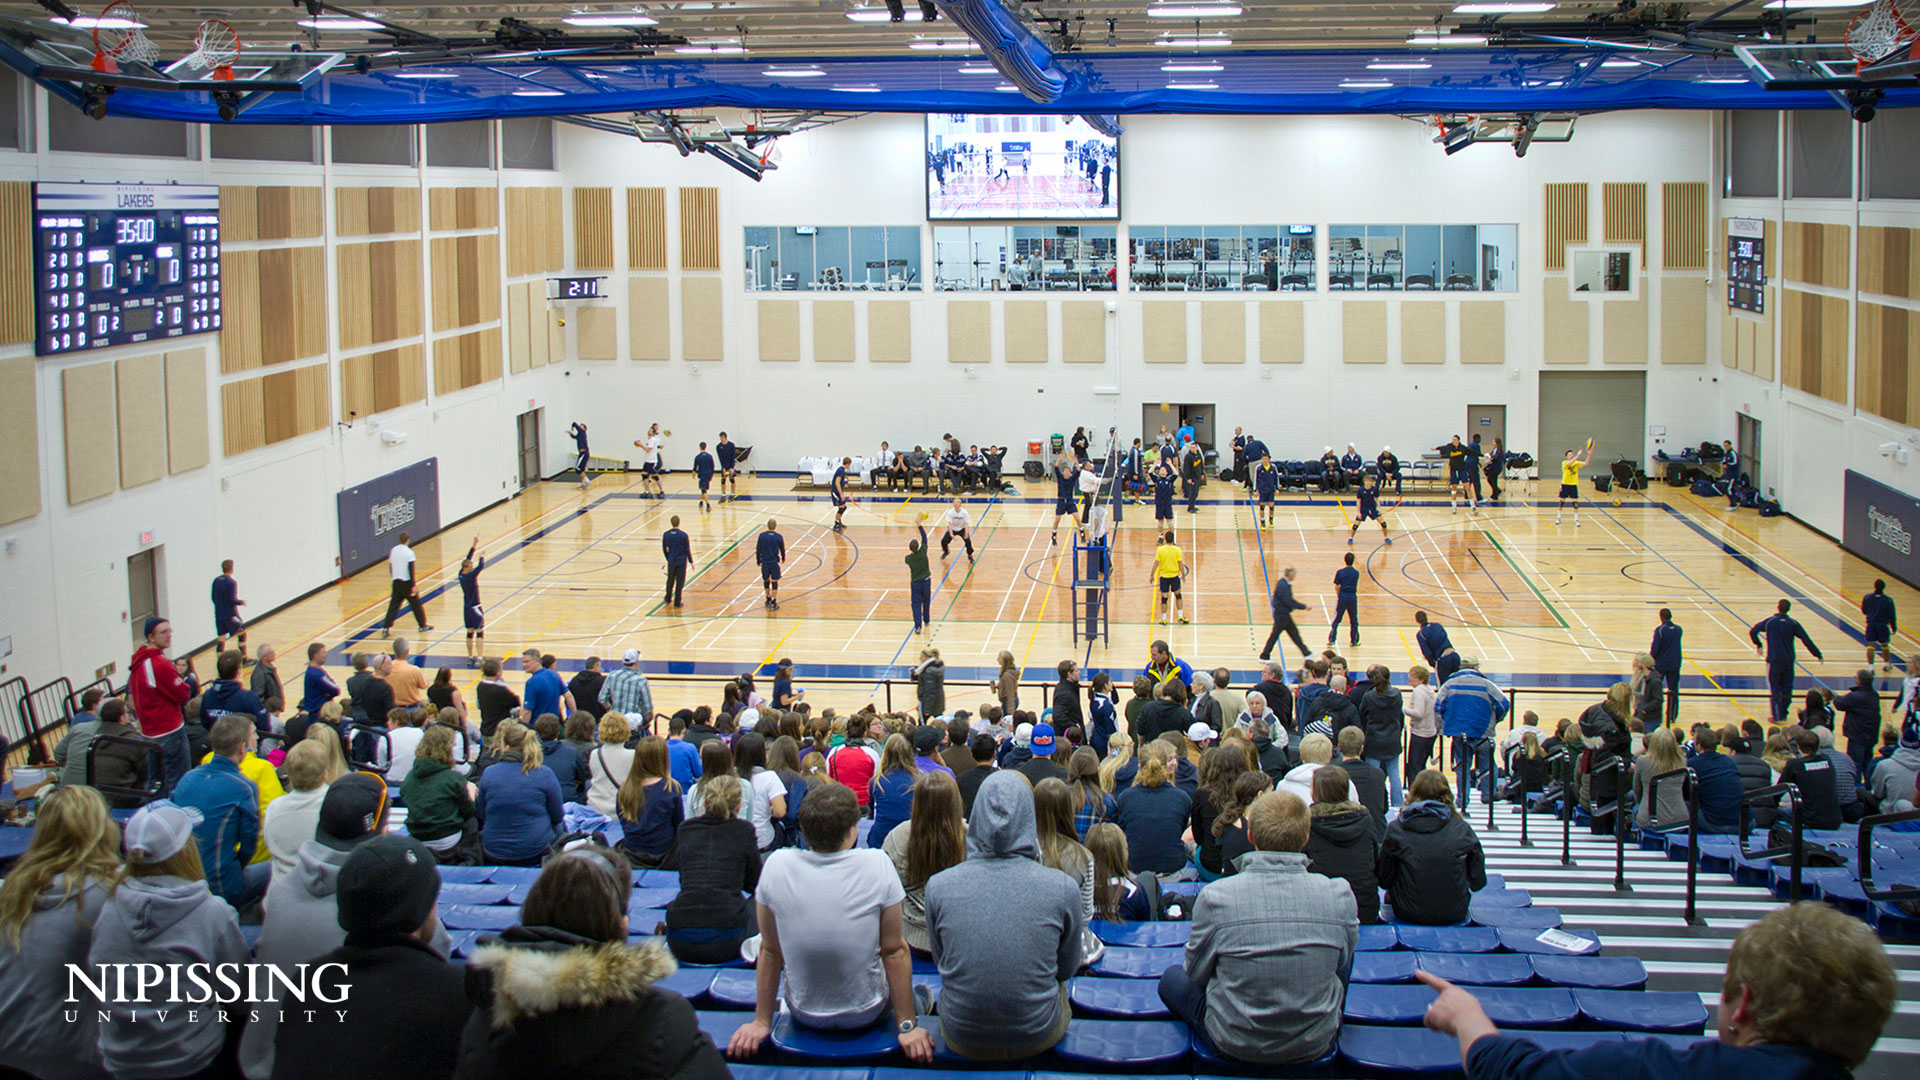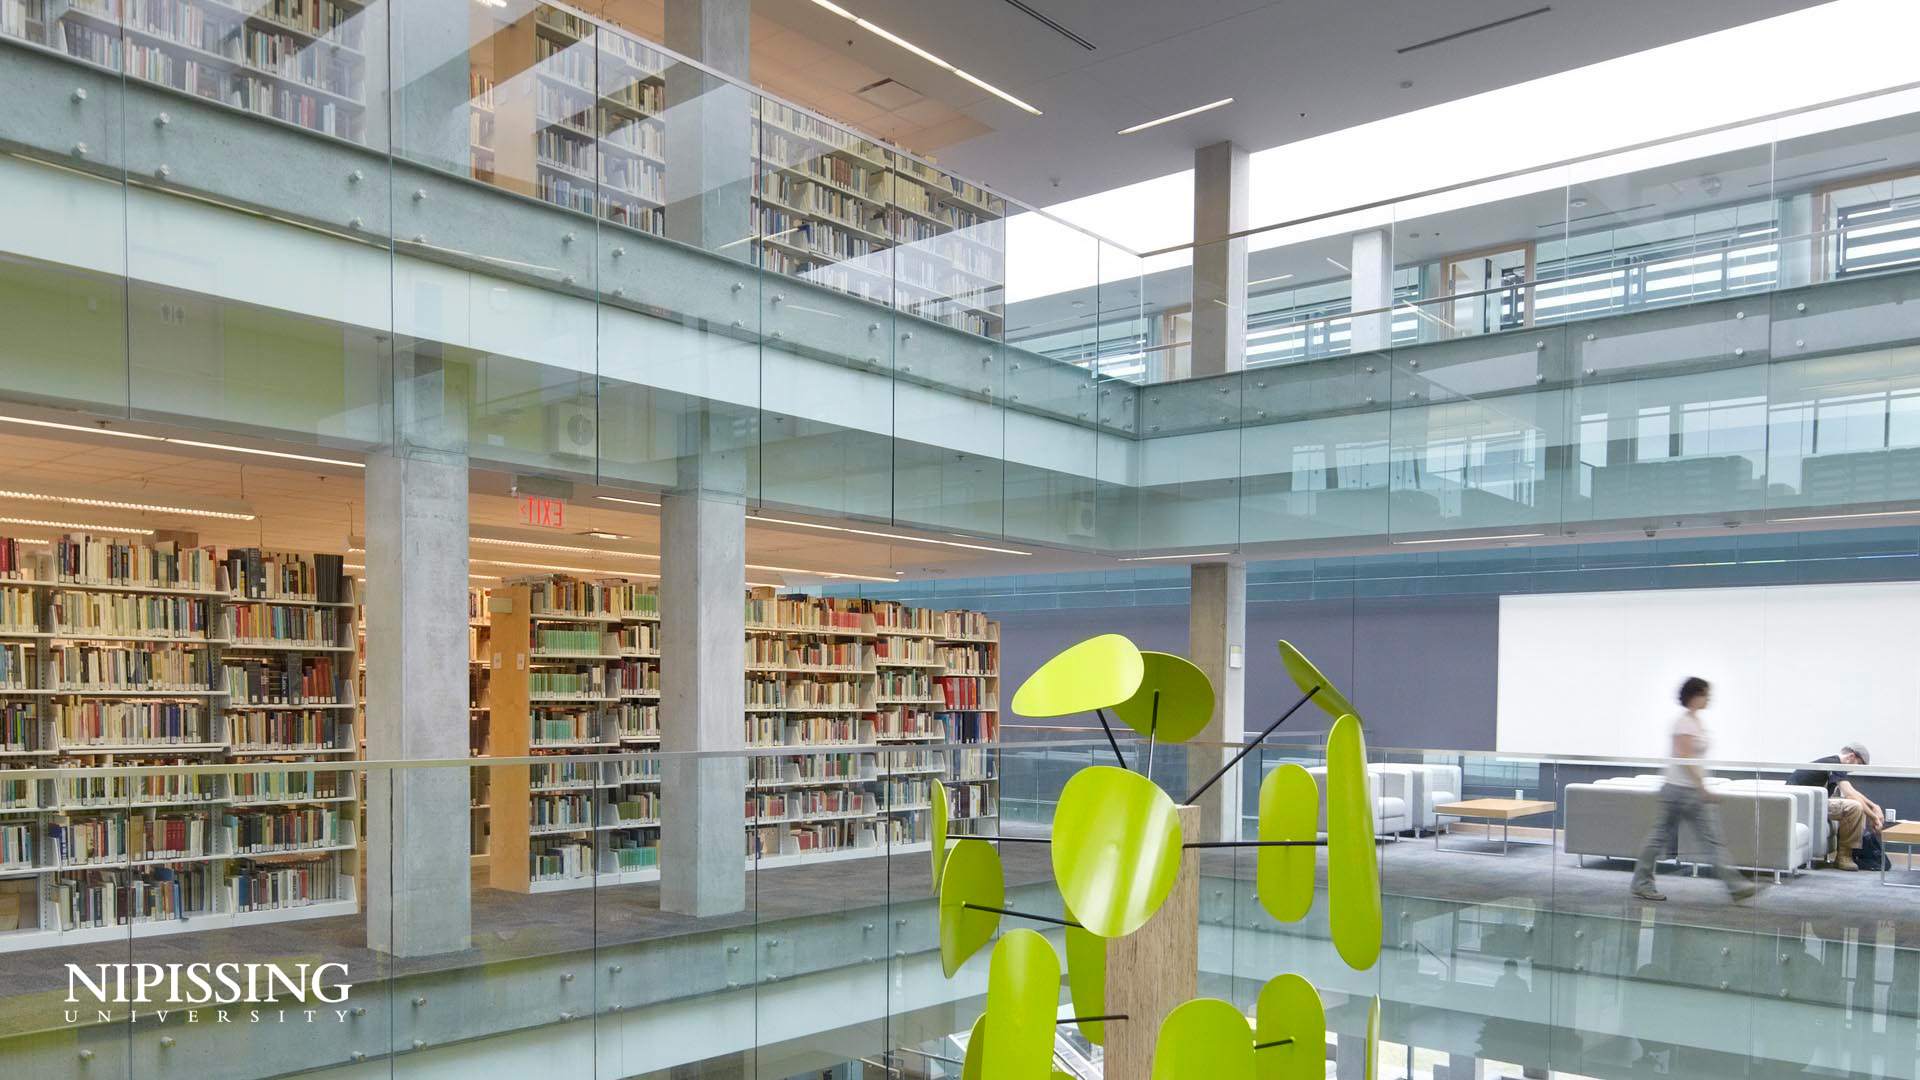
Add a custom Nipissing look to your video conferences as you work remotely! We've put together a collection of campus images and instructions to help you customize your background in Zoom and Teams. Keep scrolling to take a look at our selection of campus images available for download.
*Please note that the custom background feature may not work on all Nipissing University computers. For further technical assistance please contact the Help Desk
Teams Instructions
- To easily access the ‘Uploads’ folder in Teams for adding your own images, start by right-clicking on the Start button and select ‘Run’ from the available options to open the ‘Run’ command window.
- Then, copy/paste the following folder address in the ‘Run’ window: %APPDATA%\Microsoft\Teams\Backgrounds\Uploads
This will open the ‘Backgrounds’ folder inside the Microsoft Teams AppData folder on your PC. - Put any image you want to set as a background image in your Microsoft Teams meetings to this folder. You can add as many custom images as you wish.
- After you have manually added custom background images, they will be available when you start a video chat or meeting and click on the ‘Background Effects’ button. You should see all your custom background images available to select in the ‘Background Settings’ screen.
- Your custom background image will be added to the bottom of the list of images on the Background settings screen.
Zoom Instructions
- Instructions for setting up a Zoom virtual background and technical specifications can be found on the Zoom Help Centre
- When using Zoom virtual backgrounds, please be sure to deselected ‘mirror my video’ after choosing your background image which can be found in settings under virtual backgrounds
- Be sure to test the virtual backgrounds for lighting and contrast before any meetings


